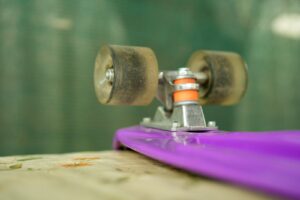
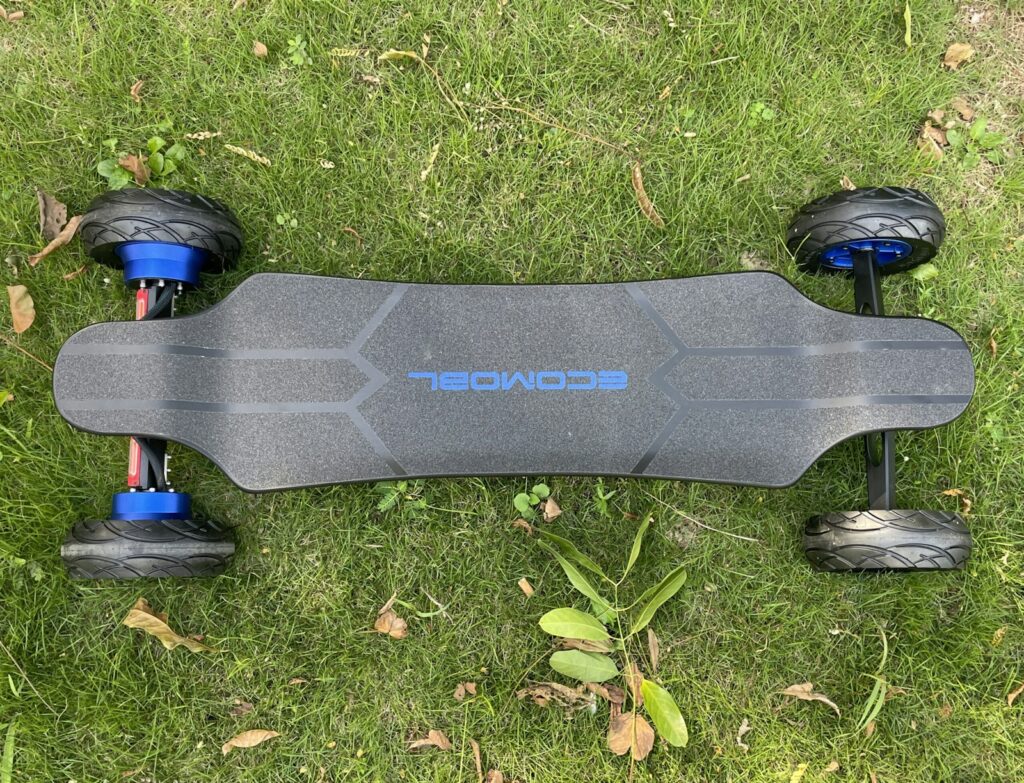
An electric longboard kit can convert a compatible deck into a powered board, but “kit” does not always mean complete or plug-and-play. Some packages include the drivetrain, battery, electronic speed controller (ESC), remote, charger, enclosures, trucks, wheels, wiring, and hardware; others include only a motor system. Verify the exact bill of materials before buying.
For a first electric board, a complete from a reputable manufacturer is often the simpler choice because its electrical and mechanical system has been designed together. A conversion kit makes more sense when you have a suitable deck, understand the installation requirements, can inspect the finished build, and value repairability or customization enough to accept the extra work.
What an electric longboard kit should include
- Motor or motors and the complete drive assembly
- Compatible trucks, motor mounts, axles, or powered sleeves as applicable
- Electronic speed controller matched to the battery and motors
- Battery pack with battery management system and a protective enclosure
- Correct charger for that exact battery system
- Remote, receiver, and pairing instructions
- Power switch or anti-spark system as designed
- Wiring, connectors, strain relief, gaskets, and mounting hardware
- Compatible wheels, pulleys, belts, bearings, spacers, or drive adapters
- Installation, configuration, inspection, and maintenance instructions
If a listing omits component models, electrical ratings, replacement parts, or installation documentation, do not assume the seller has engineered compatibility. Ask for a written list and current manuals before ordering.
Conversion kit vs complete electric longboard
| Decision factor | Conversion kit | Complete board |
|---|---|---|
| Deck choice | Can preserve a preferred compatible deck | Deck is selected for the electrical system |
| Installation | Requires assembly and validation | Usually ready after setup and inspection |
| System compatibility | Buyer or installer must verify interfaces | Manufacturer is responsible for original integration |
| Repairability | Can be strong when parts are documented and available | Varies from modular to proprietary |
| Warranty | May be split among component makers | Usually one seller for the original system |
| Cost certainty | Tools, missing parts, shipping, and replacements add up | Upfront price is clearer |
| Certification | Component claims may not cover the finished board | System-level certification may be available |
A conversion is not automatically cheaper. Compare the total cost of the complete kit, compatible deck, wheels, tools, safety gear, consumables, shipping, taxes, spare belts or tires, and professional help with a comparable finished board.
Drive types
Hub drive
Hub motors are integrated into powered wheels or sleeves. They create a compact system with fewer exposed drive parts and are often relatively quiet. The motorized wheels typically use less urethane than full conventional wheels, and replacement sleeves may be model-specific. Wheel choice, cooling, ride comfort, and spare-part supply deserve close attention.
Belt drive
Belt systems connect an external motor pulley to a wheel pulley. They make gearing visible and serviceable, and can support multiple compatible wheel and pulley choices. They add belts, pulleys, motor mounts, alignment, tension, and ground-clearance considerations. A belt is a wear item; carry the correct spare and tools if the manufacturer recommends roadside replacement.
Direct drive
Direct-drive systems place the motor around or close to the axle and drive the wheel without an external belt. They can use full wheels with the correct adapters, but motor clearance, impact exposure, axle design, adapter availability, and wheel compatibility vary. “Direct drive” should not be used as another name for every hub system.
Gear drive
Gear drives use enclosed or exposed gears between motor and wheel. They can provide a compact positive drive without belts, but gear type, lubrication, sealing, alignment, noise, service procedure, and replacement parts are system-specific. They are not automatically maintenance-free.
Choose the kit by use—not advertised top speed
- Short urban trips: prioritize controllable acceleration and braking, portability, service support, and wheels suited to the actual pavement.
- Longer commuting: prioritize verified battery energy, realistic range conditions, thermal margin, reliability, and a practical charging plan.
- Hills: evaluate total riding load, grade, sustained climbing, motor and controller thermal limits, braking on descents, and gearing where applicable.
- Rough surfaces: check wheel diameter, tire type, clearance, enclosure protection, truck geometry, and the handling effects of extra mass.
- High-performance use: demands experienced system design, inspection, protective equipment, and controlled testing—not simply higher power settings.
Published speed and range claims depend on rider weight, battery state, temperature, terrain, wind, wheels, gearing, tire pressure where applicable, and test method. Prefer sellers that disclose test conditions and system limits.
Deck compatibility
The deck must provide the correct mounting pattern, flat or shaped contact area, wheelbase, width, strength, flex behavior, ground clearance, and space for every enclosure and cable. A deck that works well as an unpowered longboard may flex too much for a rigid battery enclosure or leave insufficient clearance once components are mounted underneath.
- Confirm the kit maker’s minimum deck dimensions and approved mounting pattern.
- Check whether drilling is required and whether it affects deck or kit warranties.
- Keep mounting holes away from edges, existing holes, cracks, drops, and highly stressed bends.
- Allow cables to move with the deck without rubbing, stretching, pinching, or reaching the wheels.
- Verify loaded clearance at the center of a flexing deck.
- Do not mount hardware through a decorative skin or laminate without structural guidance.
The longboard flex guide explains why rider weight and wheelbase change deck deflection. Use the truck guide for conventional truck geometry, but follow the conversion-kit maker for its powered assembly.
Electrical compatibility checklist
Every electrical part must be compatible by specification and design. Never mix parts because connectors happen to fit.
- Battery nominal voltage and maximum charge voltage
- ESC supported voltage and current limits
- Motor voltage, winding or KV, and thermal limits as documented
- Battery continuous and peak current capability
- BMS charge and discharge behavior
- Charger output voltage, current, connector, polarity, and communication
- Motor sensor type and pinout where used
- Remote and receiver compatibility, pairing, and failsafe behavior
- Connector type, polarity, pinout, wire gauge, and current rating
- Accessory voltage for lights, displays, or other electronics
A component-level certification claim does not certify the assembled board. UL Solutions states that UL 2272 covers complete electrical systems for personal e-mobility devices, including e-skateboards. Verify any certification in the testing organization’s directory and confirm the exact model covered.
Mechanical compatibility checklist
- Truck and motor-mount interface
- Motor shaft diameter, keyway or flat, and pulley retention
- Belt profile, width, length, pulley alignment, and tension range
- Wheel core or adapter and bearing-seat compatibility
- Axle length, bearing spacers, speed rings, and secure nut engagement
- Motor-to-deck, motor-to-ground, wheel-to-deck, and enclosure clearance
- Fastener grade, length, locking method, and specified torque
- Enclosure sealing, ventilation as designed, impact protection, and strain relief
- Truck steering range and bushing clearance
After assembly, turn the trucks through their full loaded range and rotate each driven wheel by hand with power off according to the manual. Nothing should bind, rub, or pull on a cable. Check wheelbite under load; the longboard wheels guide covers the wheel-side trade-offs.
Installation sequence
The kit manual is authoritative. The sequence below is a planning checklist, not a substitute for model-specific instructions.
- Inventory every part against the bill of materials and inspect for shipping damage.
- Read the complete installation, battery, charger, remote, and maintenance documentation.
- Confirm deck, truck, wheel, and electrical compatibility before drilling or connecting power.
- Lay out enclosures and cable routes with the system unpowered.
- Install mechanical components using specified hardware, thread-locking method, and torque.
- Set pulley alignment and belt tension exactly as instructed for a belt system.
- Mount enclosures without crushing seals, pinching cables, or preventing necessary deck movement.
- Verify connector identity and polarity with the manufacturer’s documentation before connection.
- Configure only supported settings; do not guess motor, battery, current, or braking values.
- Perform the manufacturer’s bench checks with driven wheels safely clear of people and objects.
- Test braking, remote connection, failsafe behavior, steering, and clearances at walking speed in a controlled area.
- Reinspect fasteners, belts, cables, wheels, and enclosures after the first short ride.
Battery and charging safety
Use only the supplied or specifically approved battery and charger. The U.S. Consumer Product Safety Commission advises users to be present during charging, never charge while sleeping, follow manufacturer instructions, unplug when charging is complete, and avoid packs modified with repurposed or used cells by unqualified personnel. See its micromobility charging guidance.
Do not charge or ride a pack that is swollen, leaking, punctured, unusually hot, wet, crashed, hissing, smoking, or producing an unusual odor. Keep charging equipment away from exits and combustible clutter. Never use an unapproved universal charger; the CPSC has issued a specific warning about universal micromobility chargers.
First-ride safety
- Wear a properly fitted helmet and protection appropriate to speed and terrain.
- Choose a flat, dry, smooth area away from traffic, pedestrians, and obstacles.
- Use the lowest supported mode and gentle acceleration.
- Learn the remote trigger and brake response before increasing speed.
- Keep a stable stance and expect braking and acceleration to shift body weight.
- Do not test maximum speed or hill climbing during initial validation.
- Plan for loss of power, remote connection, or braking assistance.
- Check local laws before using a powered board on public roads, sidewalks, paths, or trails.
Regenerative braking may be reduced or unavailable in some conditions, including when a battery cannot accept more charge. Follow the system manual and never rely on a single electronic behavior without understanding its limits.
Maintenance and spare parts
| Check | What to look for |
|---|---|
| Before every ride | Loose wheels or trucks, damaged tires or sleeves, enclosure movement, cable damage, remote function, unusual battery condition |
| Belt system | Wear, debris, tooth damage, alignment, and manufacturer-specified tension |
| Motor mounts | Movement, cracks, impact damage, loose fasteners, or changed alignment |
| Wiring | Chafing, pinching, exposed conductors, loose connectors, or failed strain relief |
| Enclosures | Cracks, missing hardware, seal damage, water entry, or bottom-out marks |
| Battery | Swelling, odor, unusual heat, impact, water exposure, or abrupt performance change |
Before buying, confirm that the seller stocks the parts most likely to wear or break: belts, pulleys, motor mounts, wheel adapters, sleeves, tires and tubes, bearings, remotes, receivers, chargers, enclosure gaskets, and approved batteries. A low purchase price loses value if proprietary parts disappear.
Common buying mistakes
- Assuming “complete kit” includes battery, charger, remote, wheels, and enclosure
- Choosing by advertised watts or top speed without thermal and test conditions
- Reusing a flexible or damaged deck without checking enclosure compatibility
- Mixing battery, ESC, motor, and charger parts from separate recommendations
- Ignoring wheel-core, pulley, axle, and motor-mount interfaces
- Buying a no-name battery with no traceable cells, pack builder, or support
- Counting only the kit price and forgetting tools, gear, shipping, spares, and service
- Installing unsupported firmware settings copied from another build
- Testing full acceleration or braking before low-speed validation
Frequently asked questions
Can any longboard be converted to electric?
No. The deck must suit the kit’s mounting, dimensions, flex, strength, wheelbase, clearance, and enclosure requirements. Trucks and wheels must also match the drivetrain. Some boards require irreversible drilling or are poor conversion candidates.
Is a dual-motor kit always better?
No. A second motor can change traction, acceleration, braking, heat distribution, current demand, weight, complexity, and cost. The battery and ESC must support the complete system. Select the configuration for total load and terrain, not motor count alone.
Can I push an electric longboard when the battery is empty?
Usually to some degree, but rolling resistance varies by drive system and condition. Manufacturer instructions should explain whether unpowered towing or pushing is permitted. Plan range so an empty battery is not the normal stopping strategy.
Bottom line
The best electric longboard kit is not the one with the largest headline power figure. It is the documented system that fits the deck, matches every electrical and mechanical interface, provides replacement parts and support, and can be installed and tested safely. If you cannot verify those points, choose a reputable complete board or qualified professional installation.