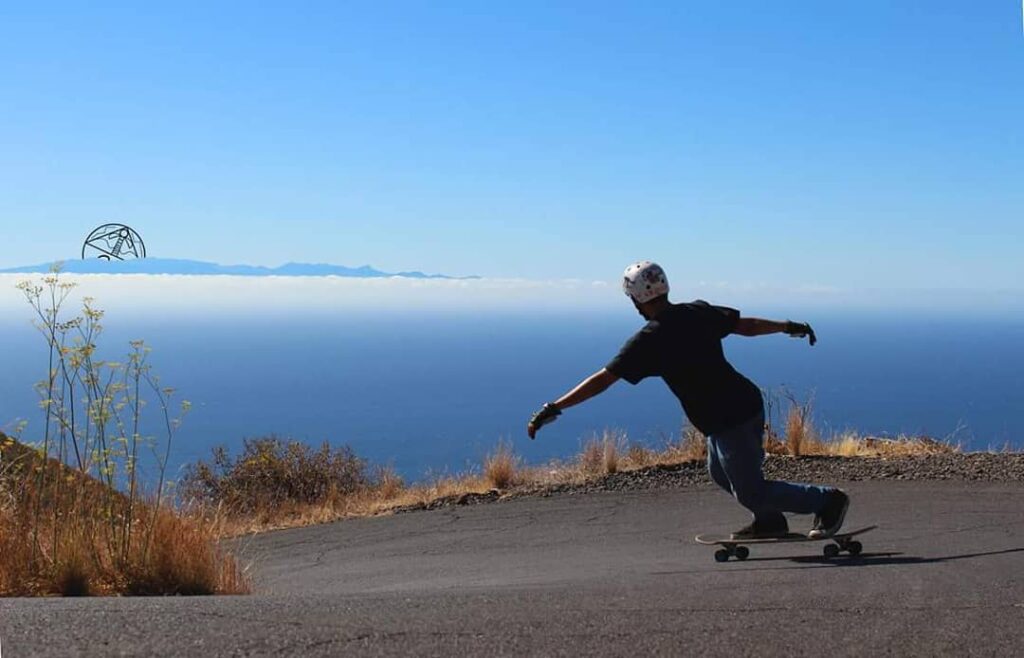
A longboard powerslide is a controlled four-wheel slide used to scrub speed or stop. On a longboard it is usually learned as a stand-up slide: the rider approaches through a carve, unloads the wheels, rotates the board across the direction of travel, then manages the slide until the wheels reconnect with the pavement.
Skill level: intermediate. Before practicing, you should be able to push, carve in both directions, foot brake reliably and stay balanced in a low stance. A powerslide is not a substitute for learning basic braking.
What you need before practicing
- A mechanically sound longboard with secure hardware and no damaged components.
- A properly fitted skateboard helmet, closed-toe flat-soled shoes and appropriate pads. Slide gloves are necessary if you progress to hands-down slides.
- A wide, clean, traffic-free practice area with predictable pavement and plenty of runoff.
- Reliable foot braking. If you cannot reduce speed without sliding, return to the longboard stopping guide first.
Do not learn beside traffic, parked cars, pedestrians, curbs or steep drop-offs. The U.S. Consumer Product Safety Commission advises skateboarders to inspect their equipment and terrain, avoid moving vehicles and wear protective gear, especially a helmet. Review the CPSC skateboarding safety guidance before practice.
Can your longboard powerslide?
Most conventional longboards can be made to slide, but the setup changes how much speed, commitment and technique are required. Soft, grippy wheels can resist breaking traction. Wheels designed for predictable sliding often release and reconnect more gradually, but durometer alone does not determine behavior. Urethane formula, contact patch, lip shape, surface finish, wear and pavement all matter.
A stable, reasonably stiff deck with secure concave can make foot placement easier to feel. Trucks should turn smoothly without excessive looseness. Do not modify a board into an unstable configuration simply to force an easier slide. The longboard wheels guide explains the specifications that affect grip and release.
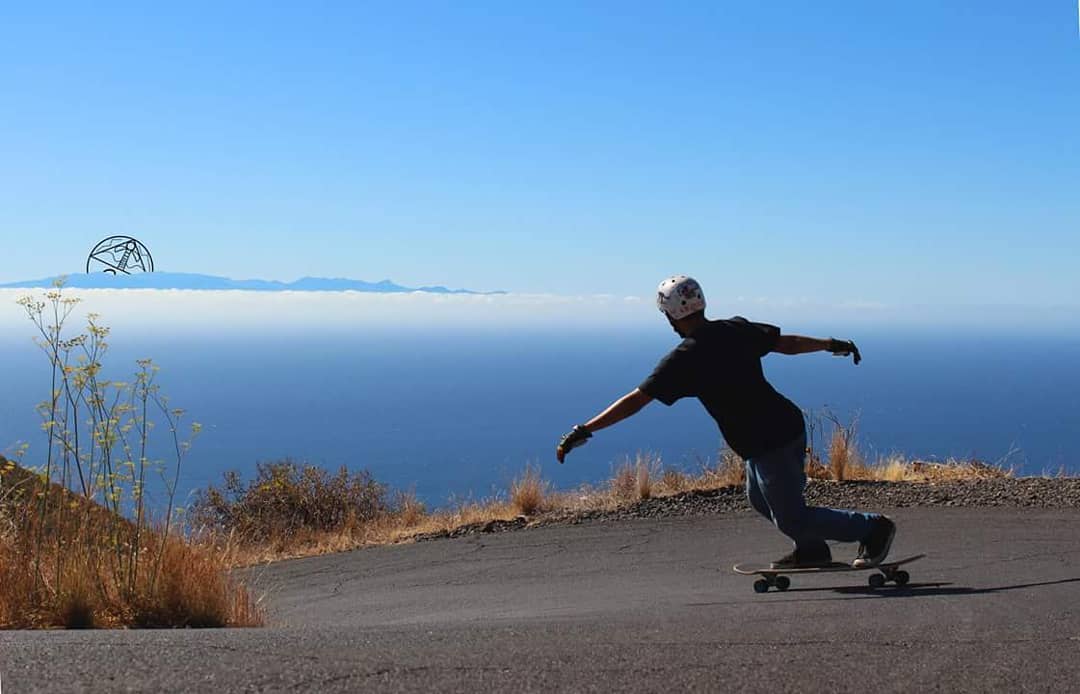
How to powerslide on a longboard
Learn the movement at a modest, controllable speed. Too little speed can make the wheels refuse to release; excessive speed increases the consequences of every error. The goal is not a dramatic 90-degree stop on the first attempt. Begin by producing a small, controlled scrub and returning the board to its direction of travel.
1. Set a stable stance
Place your front foot near the front truck area at a comfortable angle and your rear foot across the deck where it can guide the tail. Keep both feet over usable parts of the platform—not hanging so far off the edge that you lose support. Bend your knees, keep your torso composed and look toward the path you intend to follow.
2. Approach through a setup carve
Use a smooth carve to create space for the slide. A shallow turn in the opposite direction followed by a stronger carve into the slide can help organize the rotation. This is often called a pre-carve. Do not whip the board sideways from a rigid, straight-line stance.
If your carving is inconsistent, practice the progression in how to turn on a longboard before adding the slide.
3. Lower your center of mass
Compress through the knees as the setup carve develops. Keep your shoulders and hips coordinated with the turn. A low stance creates room to extend and briefly reduce the load on the wheels when you initiate the slide.
4. Unload and rotate
As you reach the strongest part of the carve, extend slightly and guide the rear of the board outward. The movement should come from coordinated hips, shoulders and legs—not a desperate kick from the rear foot. Keep meaningful pressure through the front foot so the board rotates around a controlled front end instead of shooting away.
5. Hold a balanced slide
Once the wheels release, stay compact and avoid leaning your upper body far behind the board. Maintain steady pressure rather than suddenly going rigid. Look where you want the board to travel. For early attempts, allow only a small angle and a short slide.
6. Let the wheels reconnect smoothly
To exit, guide the board back toward the direction of travel and absorb the return of grip with bent knees. A sudden, sideways reconnection can throw the rider forward. Do not fight the board with locked legs; manage the transition and ride away in control.
What a successful slide should feel like
The wheels should release as a group rather than the board simply turning harder. Your feet remain planted, your torso stays supported over the deck and the board follows an intentional path. When the wheels reconnect, you should be able to continue riding without stepping off or being pitched forward.
A short speed scrub counts as success. Distance and angle come later. Consistency matters more than leaving long urethane lines.
A safer practice progression
- Become comfortable with deep heel-side and toe-side carves at low speed.
- Practice compressing and extending through the strongest point of a carve without attempting to slide.
- On a safe, open surface, attempt a very small rear-wheel scrub and immediately straighten the board.
- Repeat the same direction until the release and reconnection are predictable.
- Practice the opposite direction rather than building a permanent one-sided habit.
- Increase slide angle or approach speed only after you can recover consistently.
Common powerslide problems
| Problem | Likely cause | Correction |
|---|---|---|
| The board only carves | The wheels stay fully loaded or the rotation begins too early | Build a smoother setup carve and coordinate a small extension with the kick-out |
| The board shoots forward | Your body falls behind the deck or pressure leaves the front foot | Stay supported over the board and guide the rotation from a balanced stance |
| The wheels reconnect abruptly | The board is still far across the path when grip returns | Reduce the initial angle and steer back progressively with bent knees |
| Your rear foot slips | Foot placement is weak, the deck is dirty or the movement is only a rear-foot kick | Reset your stance, inspect grip tape and use coordinated body rotation |
| The slide spins past control | Too much rotation, speed or rear-foot force | Return to shorter scrubs at lower speed in a larger practice area |
Powerslide vs hands-down slide
A powerslide or stand-up slide keeps the rider’s hands off the pavement. A hands-down slide uses a gloved hand as an additional point of support. The techniques are related but not interchangeable, and neither should be treated as an emergency brake until it is deeply practiced.
Some riders find hands-down practice useful for learning how wheels release because the extra contact point can support a lower stance. It also introduces its own technique and injury risks. Use proper slide gloves; never place an unprotected hand on the pavement.
Frequently asked questions
Can beginners learn a longboard powerslide?
A new rider should first learn stable pushing, carving and foot braking. Powerslides become appropriate after those skills are reliable. Trying to slide before you can control speed by simpler methods creates unnecessary risk.
Do harder wheels make powerslides easier?
Sometimes, but hardness is only one variable. Urethane formula, contact patch, lip shape, finish, wear, rider input and pavement affect how a wheel releases. Choose a wheel with a documented, predictable slide rather than relying on the durometer number alone.
Should a powerslide be used as an emergency stop?
Not while you are learning it. An emergency technique must work predictably under pressure and in limited space. Build dependable foot braking, maintain safe speed and preserve room to stop instead of relying on a developing slide.
Build control before speed
The useful powerslide is controlled from entry to exit. Learn it as a progression: strong carving, balanced unloading, a small release and a smooth return to grip. Practice on clean pavement away from traffic, wear appropriate protection and increase speed only after the movement is repeatable.